Setting Up Order Management in Delivrd
Before you start working with sales orders, you should make sure that this feature is active - it is a part of Delivrd Advanced plan (which is a paid plan).
- In the navigation bar on the left, click Settings.
- On the System Settings page, select the Order fulfillment active checkbox.

3. You can also specify whether you want to Copy product price to sales order line and create a Sales Order Title.
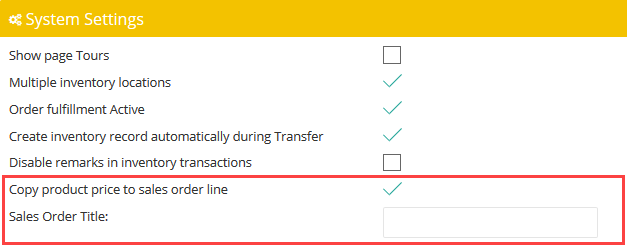
4. When ready, click Save.
Creating a Sales Order Header
Like most types of orders, sales orders consist of two parts: header and lines. To create a new sales order header, do the following:
- In the navigation pane, click Outbound Processing > Sales Orders.
- In the upper-right corner of the Sales Orders List, click Add Sales Order.

3. In the Order Details section, fill in the following information:
- Reference Order: This can be the purchase order number provided by your customer, or the order number of the system which generated that order (for example, your online shopping cart or eCommerce platform).
- Sales Channel: Select the sales channel from which the order came or create a sales channel record if the list is empty. The system will then automatically select the newly created sales channel record.
- Shipping Costs: Enter the shipping costs that were paid by your customer. If you offer free shipping, leave a zero value.
- Requested Date: Enter the date on which the customer expects the delivery.
In the Shipping Address section, enter the exact shipping address to properly fulfill the order.

4. Click Save.
Creating Sales Order Lines
Each sales order should have at least one line (or item) consisting of a product ordered, its quantity, unit price, and comments, if any. You can enter as many order lines as you need, so if your sales department ordered several products, you can use the same order for all these lines.
After you save the order header in Delivrd, the Add Order Line page opens automatically. On this page, fill in the following data:
- Product: Select the record of the product that is being ordered.
- Warehouse: If you manage your inventory at multiple locations, select the warehouse from which you are going to issue the products.
- Qty: Specify the number of items that are being ordered.
- Unit Price: Specify the price per unit, as agreed with the customer.
- Remarks: Add comments, if applicable.
When you are ready, click either Save & Add Another to add more lines or Save & Close if you are not going to add any more lines. The order lines will appear below.

If you did not add order lines after the header was created, you can do it later:
- In the Sales Orders List, locate your order. It should have the Draft status.
- Under Actions, choose Edit.

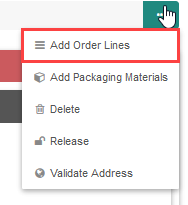
3. Hover over the ... button and choose Add Order Lines.
Adding Extra Costs/Discount
If the order involves additional costs and discounts, you can add them during the order creation. To do it, click Add Costs/Discount in the Additional Costs/Discount panel under the order lines. In the window that opens, enter the following information:
- Costs/Discount: Choose the type of the costs or discount that you are adding to this order. It can be a surcharge, a discount, shipping costs, or other costs.
- Unit of Measure: Select whether you want to count the costs either as a percentage or as an amount.
- Amount / %: Enter the amount or percentage of a discount or costs.
- Remarks: Enter comments that are relevant to the added costs or discount. For example, if you choose Other Costs under Costs/Discount, then you can enter details about those costs in the Remarks field.
Example: If you want to add a 20% discount to the order, specify the following data:
- Costs/Discount: Discount
- Unit of Measure: Percentage
- Amount / %: 20
When ready, click Save.
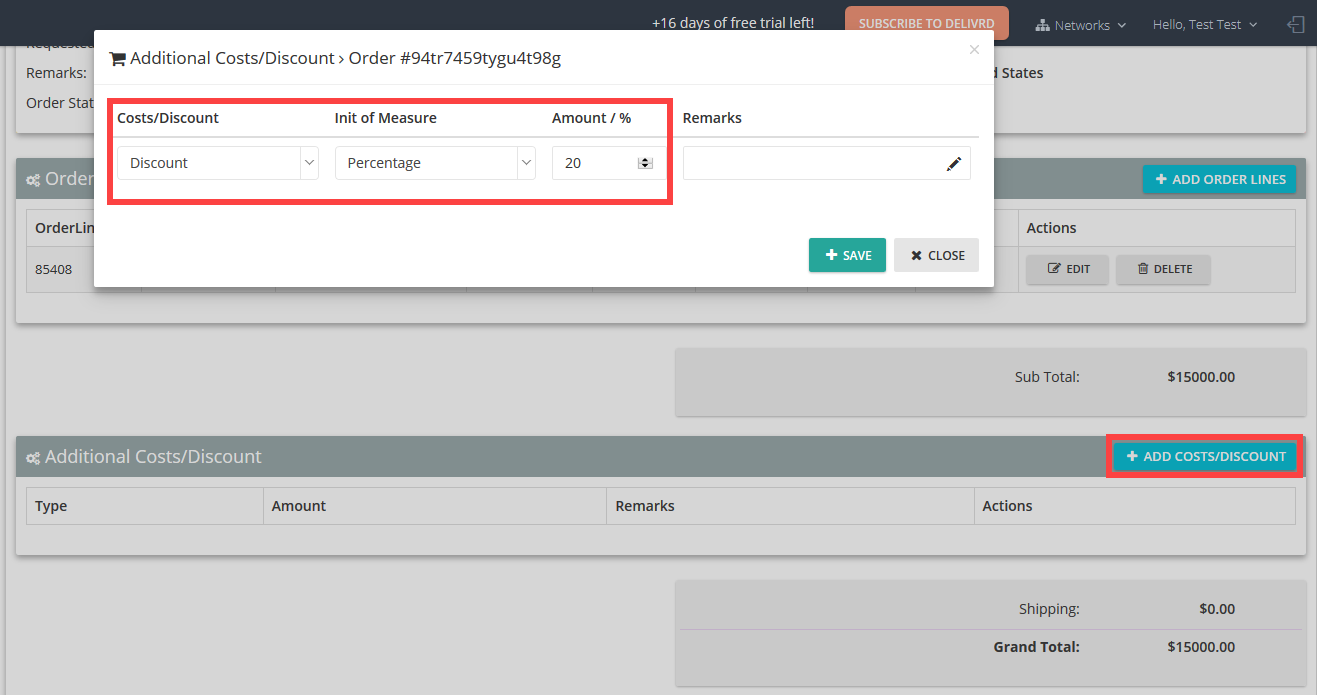
The discount will appear under Additional Costs/Discount panel with the calculated amount and will affect the grand total.

The costs and discount will also be displayed in the packing slip. You can add as many extra costs and discounts as you wish.
Releasing the Sales Order
When an order is initially created, it has the Draft status. You need to review and release it. After you release it, you can further process it - print the packing slip, issue order products, create a shipment from the order, etc.
To release the sales order right after you create the sales order lines, click Actions > Release.
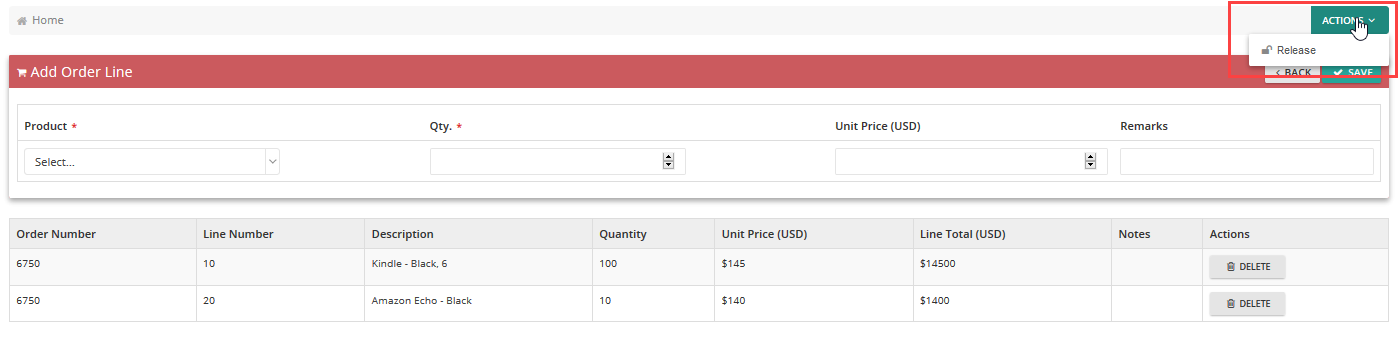
In this case, the order status will instantly change from Draft to Released.

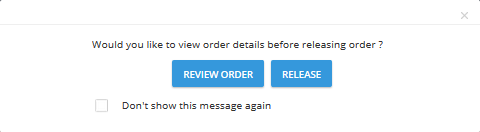
It is also possible to release the sales order from the sales orders list by clicking Release under Actions:

In this case, the system will suggest that you review the order before releasing it.
If you want to release several orders at once, just select the checkboxes next to those orders in the sales orders list, hover over the ... button, and choose Release All Orders:

Printing the Packing Slip
After you release the order, you can print the packing slip for it. To do it, click the ... button under Actions and choose Print Packing Slip.

Review the packing slip and click Print.

Note: If you included any extra costs and discounts in your order, information about them will also be added to the packing slip.

Issuing the Sales Order Lines
The next step is to issue the sales order lines:
- Under Actions, click Issue.

2. On the Issue Sales Order Products page, you have the following options:
- Issue individual lines by clicking Issue Line under Actions for each order line.
- Issue all lines by hovering over the ... button and choosing Issue All Products.
- Issue all lines and change the order status to Completed by hovering over the ... button and choosing Issue All Products & Complete.

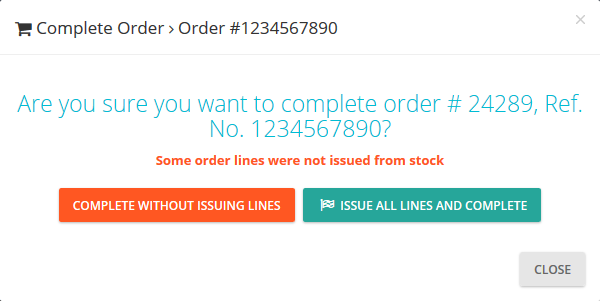
- Complete order processing by hovering over the ... button and choosing Complete Order Processing. If you choose this option, Delivrd will warn you about the order lines that have not been issued and ask you whether you want to complete the order without issuing the lines or issue all lines and complete the order.
3. As a result, the order status will change to Completed and inventory quantity of the issued product is reduced by the quantity issued.

Canceling a Sales Order
Delivrd allows you to cancel a sales order with any status, including the Completed status. To cancel a sales order, follow these steps:
- Locate the order in the sales orders list.
- Click the ... button next to the order record in the list and choose Cancel Order.
- Confirm that you want to cancel the order.


To restore a canceled order, follow these steps:
- In the upper-right corner of the sales orders list, hover over the ... button and choose Canceled Orders.
- On the Canceled Sales Orders page, click the ... button next to the order record in the list and choose Restore.
- The order will appear again in the sales orders list with the status which it had before the cancellation.

IMPORTANT! Order cancellation does not undo stock issue. So if you issue 10 items for a sales order and then cancel it, the stock is not changed. You should update the stock to undo the inventory transaction either by counting inventory or receiving 10 pieces to stock to offset the 10 issued items.
Here's a short guide: